
|
Downloads
Wiki
Build CodeLite
Devs
|
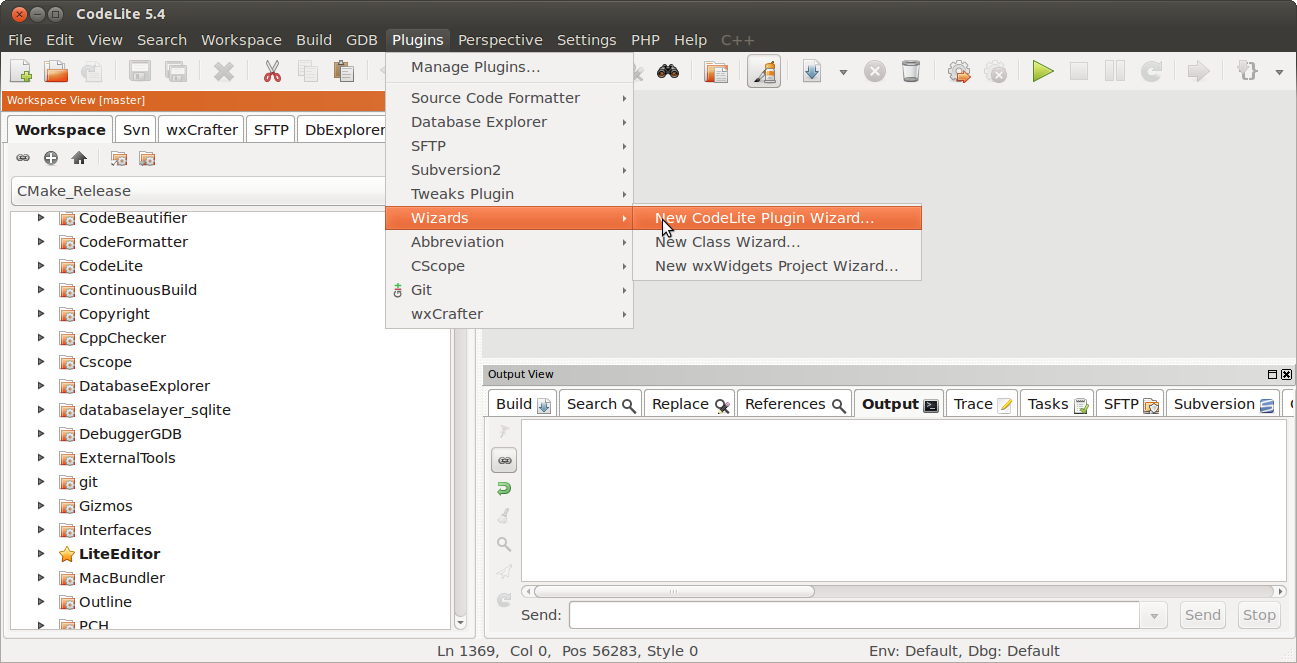
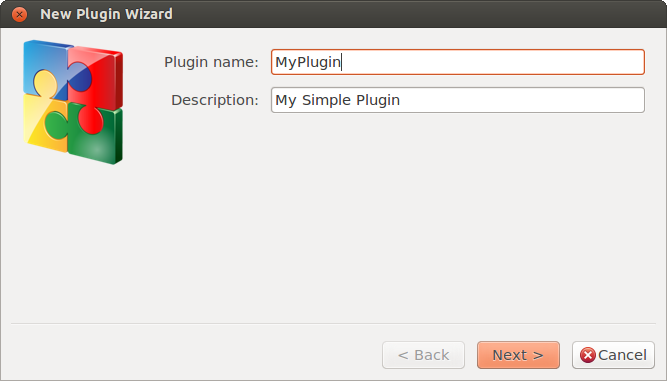
CreatePluginOn this page... (hide) Creating a new pluginTo create a plugin we use the 'Wizards' plugin. This contains a simple wizard that creates a plugin skeleton that compiles but does nothing useful.
It is recommended that plugins are created inside CodeLite's folder. So, in the previous step, you should set both paths to point to CodeLite's root folder.
  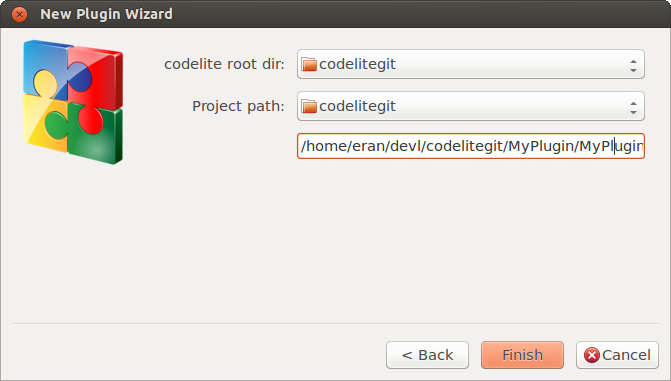 By clicking the Finish button in the wizard, you should now have a new project with the plugin's skeleton files. The project has 2 configurations:
There configurations are used to build the plugin on Windows 64 bit in debug/release
For Linux and OSX, the configurations don't really matter since the build is using If you have created your plugin folder inside CodeLite's source tree as recommended, then the Post Build command created by the Wizard will make sure that the plugin is copied into the proper CodeLite folder. Otherwise, you need manually to change the Post Build command that copies the plugin to: Installing the plugin on WindowsTo copy a plugin into the installation folder, you can either simply copy it manually to cd C:\path\to\codelite-sources\Runtime update.bat The script uses the variable TARGET_DIR as the base path for CodeLite installation folder. By default it is set to Compiling the plugin on Linux / Mac OSXThe Wizard will create a file named add_subdirectory(/path/to/plugin/folder)
cd /path/to/codelite/build-release
cmake .. -DCMAKE_BUILD_TYPE=Release
From this point, your plugin will be included in the normal build process and will also have an install target (i.e. running |