
|
Downloads
Wiki
Build CodeLite
Devs
|
Main /
PHPOn this page... (hide) The PHP PluginAs of CodeLite 7.0, PHP support in CodeLite has been extended to provide a fully workable PHP environment for editing and building a PHP application or a simple website. The PHP plugin supports (but is not limited to) the following:
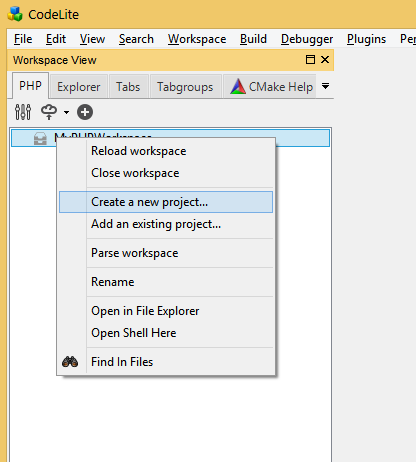
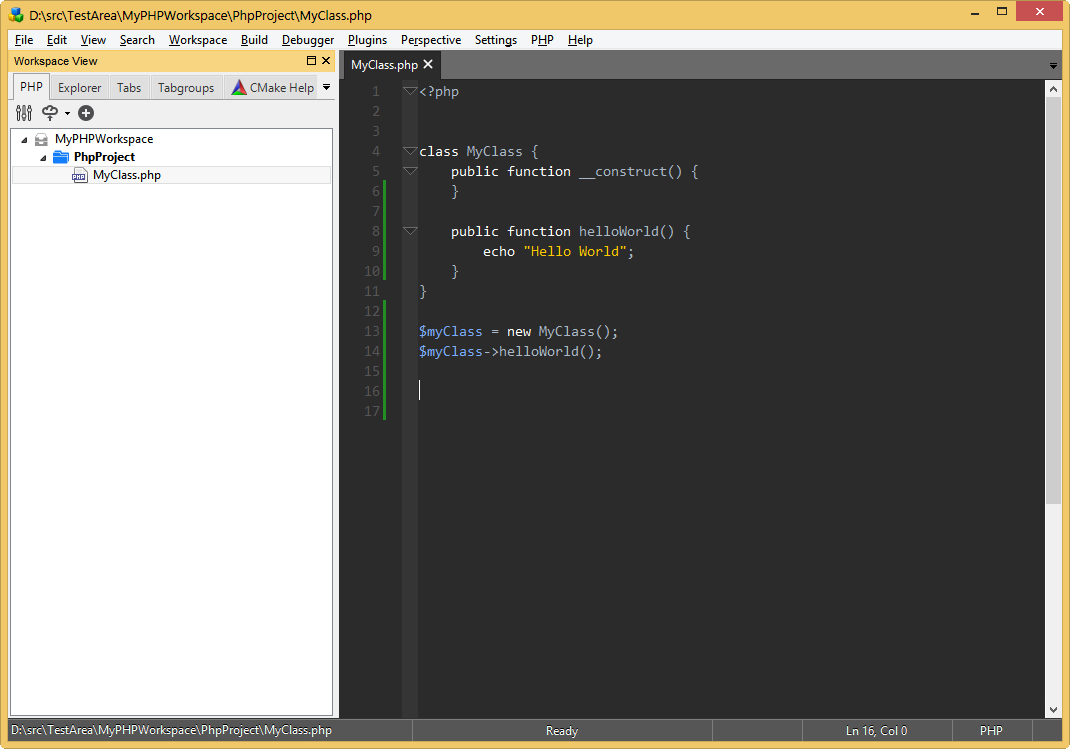
ConceptsThe Workspace fileUnlike a standard workspace in CodeLite, a PHP workspace uses its own tab in the IDE, named "PHP" in the "Workspace View" pane on the left side. CodeLite's PHP workspace contains the following information:
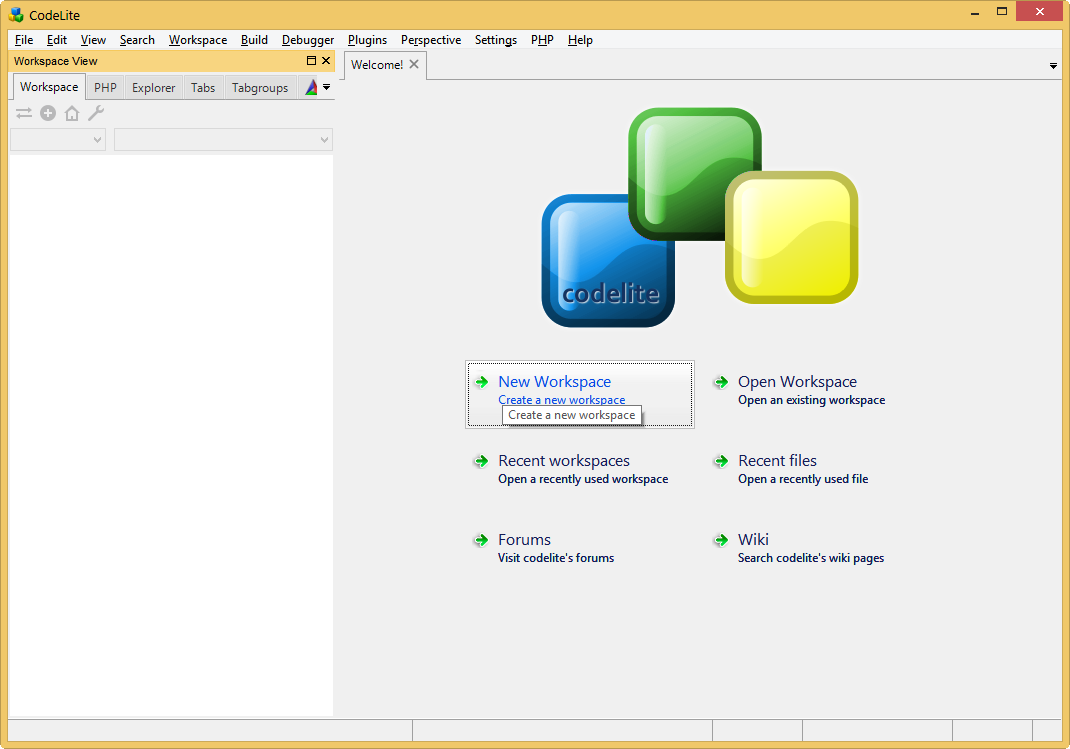
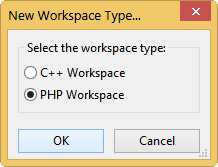
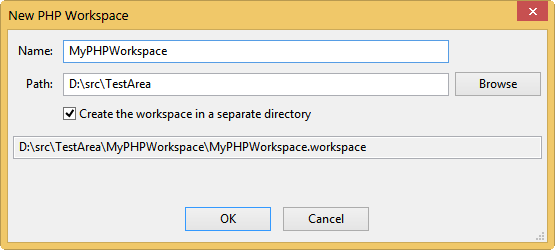
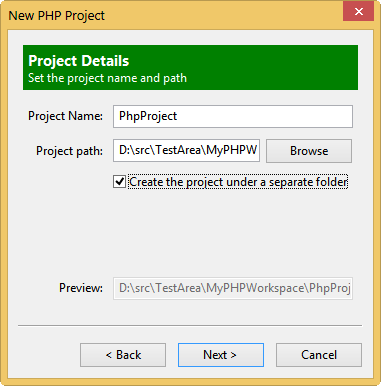
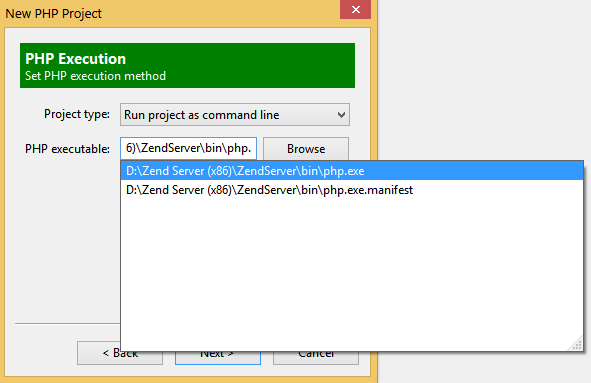
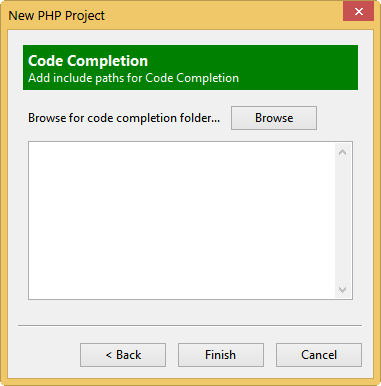
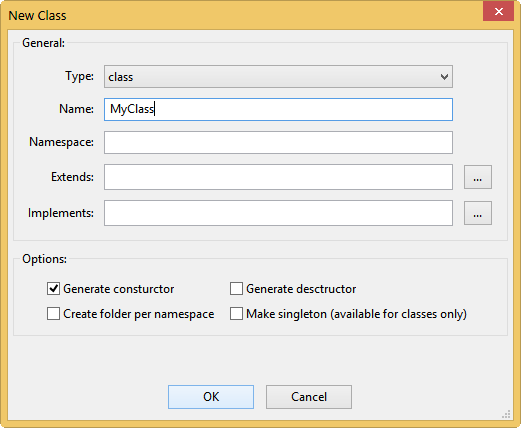
Only one workspace can be loaded at a time within CodeLite; however, each workspace may contain multiple projects. Each workspace is represented on the file system as a single file with the extension The Project filesEach PHP project corresponds to a real directory on the file system (i.e. there are no Virtual Directories as there are with standard C++ CodeLite projects). A project may contain subfolders, each corresponding to a dir in the matching position on the file system. However you don't have to include every real dir; you may define filters to define which dirs and files you wish to view (e.g. Projects can't be nested: a project tree can't contain another project. Getting StartedCreate your first workspaceCreating a PHP workspace is done by clicking on the New Workspace button in the Welcome Page (or from the menu: File -> New -> New Workspace )
   Syntax checkingCodeLite has built-in intergration for PHP_CodeSniffer, PHPMD and basic php lint. Theas tools look for code style violations, code design issue and basic syntax errors. When an issue is detected a marker will be placed to the left of the affected line, hover the marker to view a description of the issue. SetupFrom the main menu select Plugins->PHP Linter->Options. Under the general tab you can enable automatic linting on file load and file save. Under the Code Sniffer tab you need to specefy the path to the phpcs phar file. Configuration of phpcs should be done by creating a phpcs.xml rule file and placing it in your projects root folder. The Mess Detector allows you to point to the phpmd phar file and an optional rule set xml file. You can use an online standard generator to generate the XML rule files. RefactoringCodeLite relies on an external tool for providing PHP refactoring (rename variables, class properties etc) To enable refactoring, follow these steps:
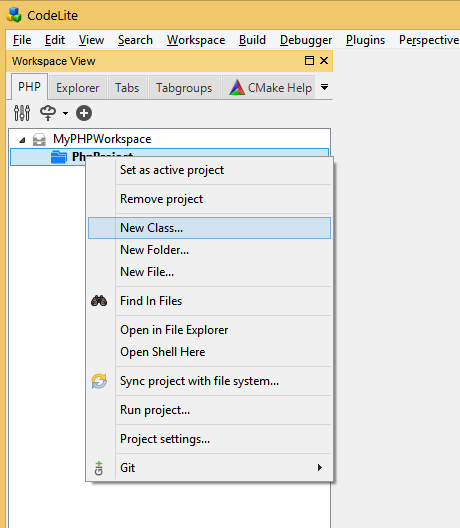
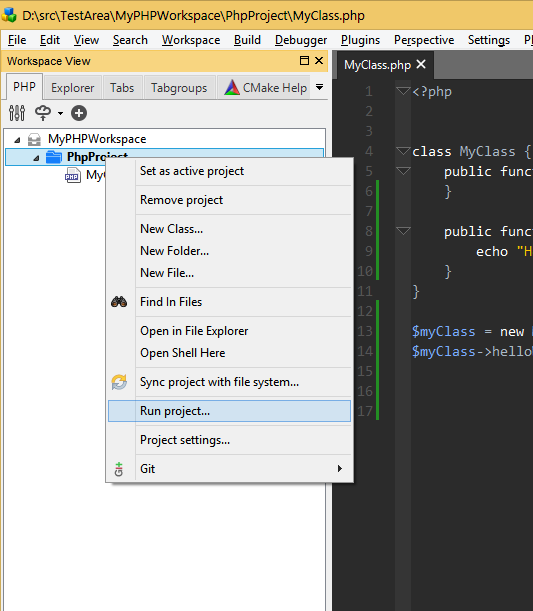
You are now able to perform code refactoring (like renaming variables, moving selected code in to a separate method) from the right click menu or from the project level context menu |